How to take a picture of your screen on Windows is a problem. The built-in Print Screen feature supports shooting either the entire screen or a separate window. For adding additional information to the image, it’s necessary to install a photo editor.
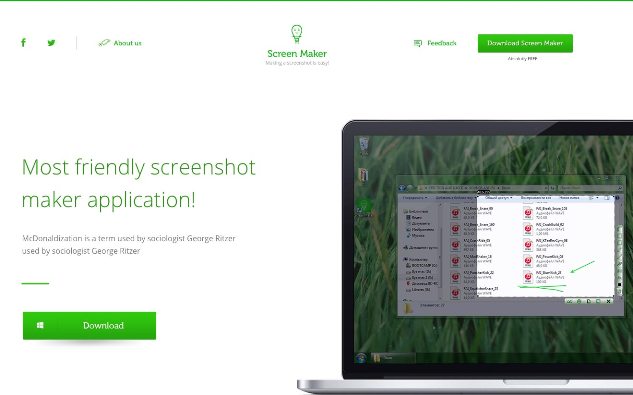
Screen Maker is a tool which solves the problem how to take screenshots. This program is fast, straightforward and easy to use.
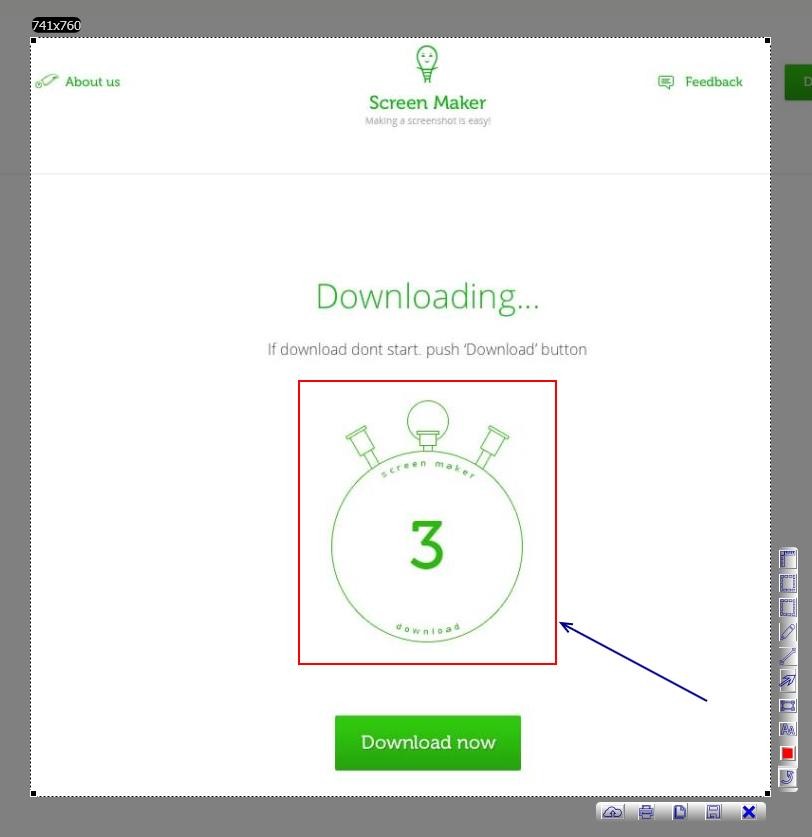
The interface is represented by the screened area itself. There are two arrays of buttons aside — one for saving, another for editing the picture.
A photo editor is built into the program and has six features:
• inserting a text field;
• drawing a rectangle with adjustable sides;
• pasting arrows on the picture;
• sketching lines and custom shapes;
• resizing the area which is to be screened to 640×480, 1024×768 pixels or 1:1 side ratio;
• changing the color of markers.
After editing, the picture is saved on your PC. If you wonder how to get a screenshot uploaded to the cloud — Screen Maker does that. Then, the program provides you with a link you can share with your friends or colleagues.
Here’s how the Screen Maker looks:
How to do screenshots with Screen Maker?
To get Screen Maker, go to http://screenmaker.com, tap the ‘Download’ button. Then, open the file you received from the site and follow the installer’s instructions.
To begin using the program, tap on the green icon with a light bulb on it. This shortcut is located on your desktop. Alternatively, press PrintScreen + Shift for calling the program.
To make a screen capture, press either:
• PrintScreen — takes a picture of the whole screen and uploads it to the cloud;
• PrintScreen with Alt — screenshots a single window;
• PrintScreen + Shift — allows you to adjust the parameters.
How to take a screenshot on a computer has never been that easy. Head to http://screenmaker.com and start enjoying Screen Maker!
29.02.2016